Getting Started with Discord for Your Business
In the second installment of our Discord for your business trilogy, we’ll walk you through downloading Discord, creating your own servers, and creating channels within those servers. Not sure if Discord is right for your business? Check out our previous post on some useful features and how others are using this handy-dandy messaging application to reach their audience in unique ways.
Download Discord
Before you can do anything else, you’ll need to head over to the Discord website and grab the download.

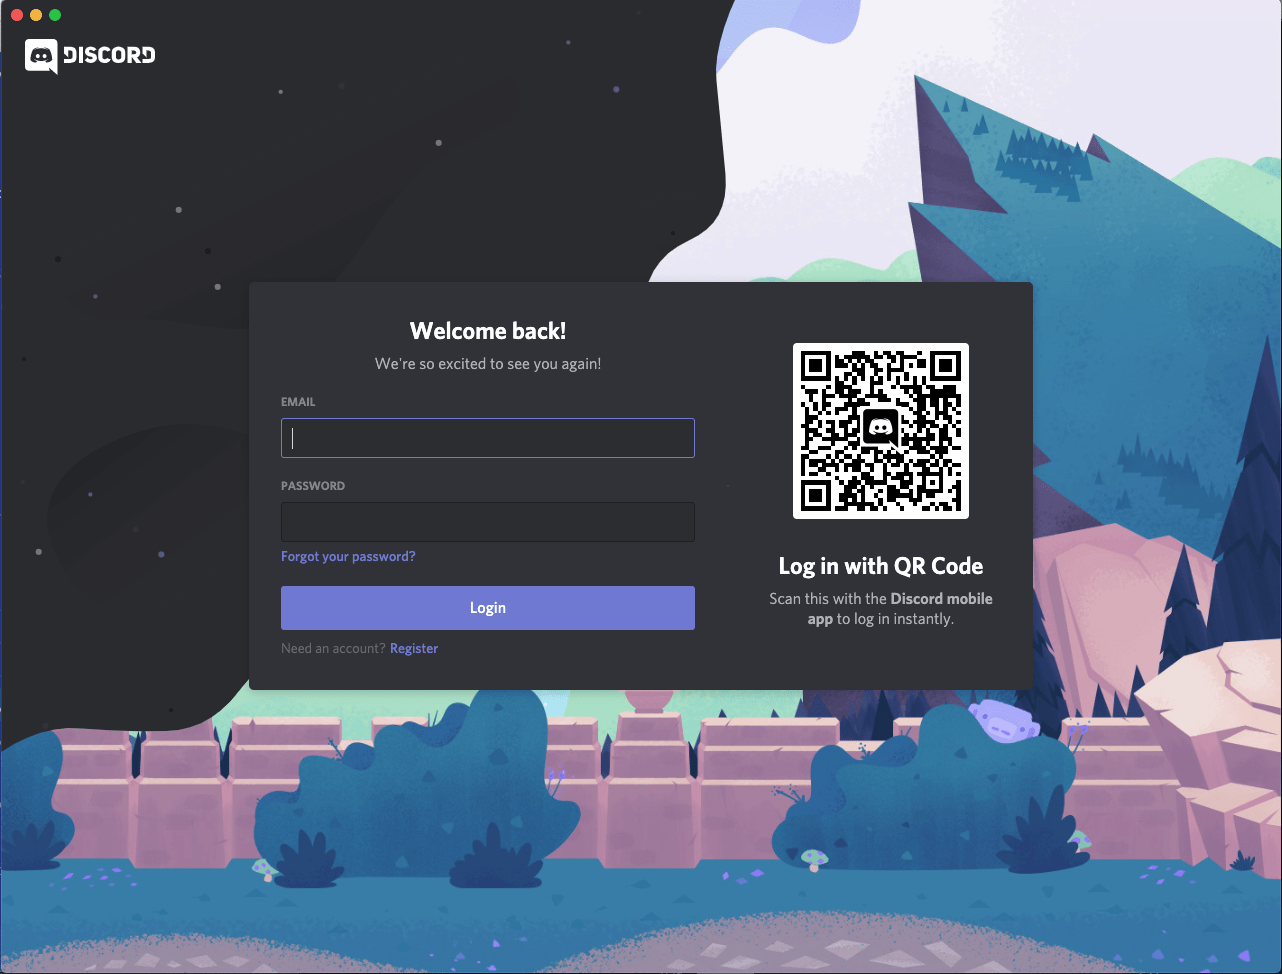
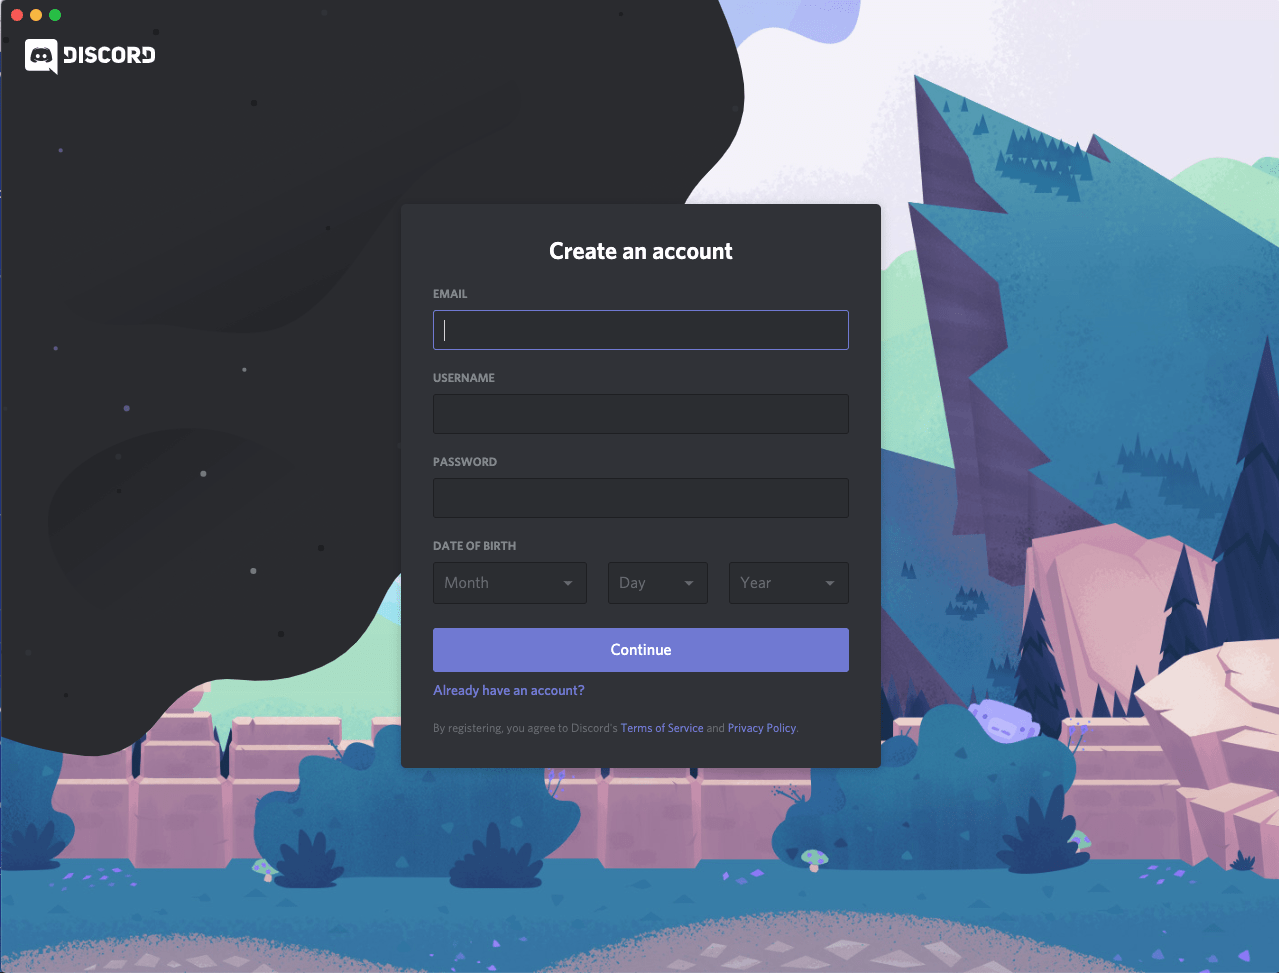
Once you’ve got it installed, you’ll need to create an account, which you can do from within the program. Once you open Discord, click “Register” under the sign-in and fill out the form. You’re all set!
Creating a Server
Once your new account is setup, your Discord will look like this:

We’re going to start by creating a server, with the “+” button next to the exclamation point. Your server is going to be your home base for everything and everyone who you invite to join. Think of it as a Facebook group or a private chat room. If you add different servers, say a private one for you and your family to share pictures, people in other servers that you host will not have access. They are only in the servers that you allow them in.
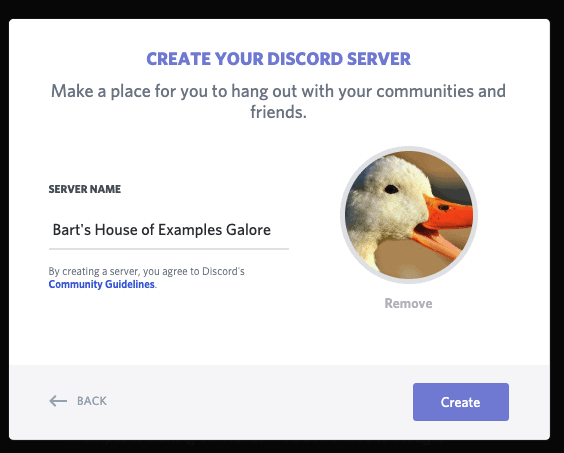
- Click the”+” button and select “Create a Server” from the pop-up. Name it something that people will recognize as being related to your business. For the sake of example, we’ll call our server “Bart’s House of Examples Galore.”
- At that point, you can also change your server icon, which is how it will display in your users’ sidebar. Make it easily identifiable, like a logo… or this handsome duck.

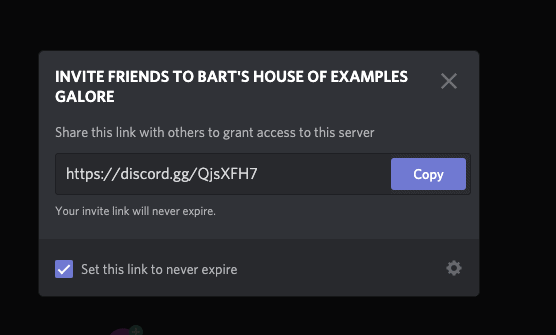
- Once you hit, “Create,” another pop-up will give you a custom link that you can share with whoever you’d like. Optionally, you can set the link to never expire. Otherwise, the link to your server will change every 24 hours, which makes more work for you everytime you want to invite someone, but will also help you keep your server safe from outsiders.
- Your new server will look pretty boring for now, but that’ll change as you customize and add features.
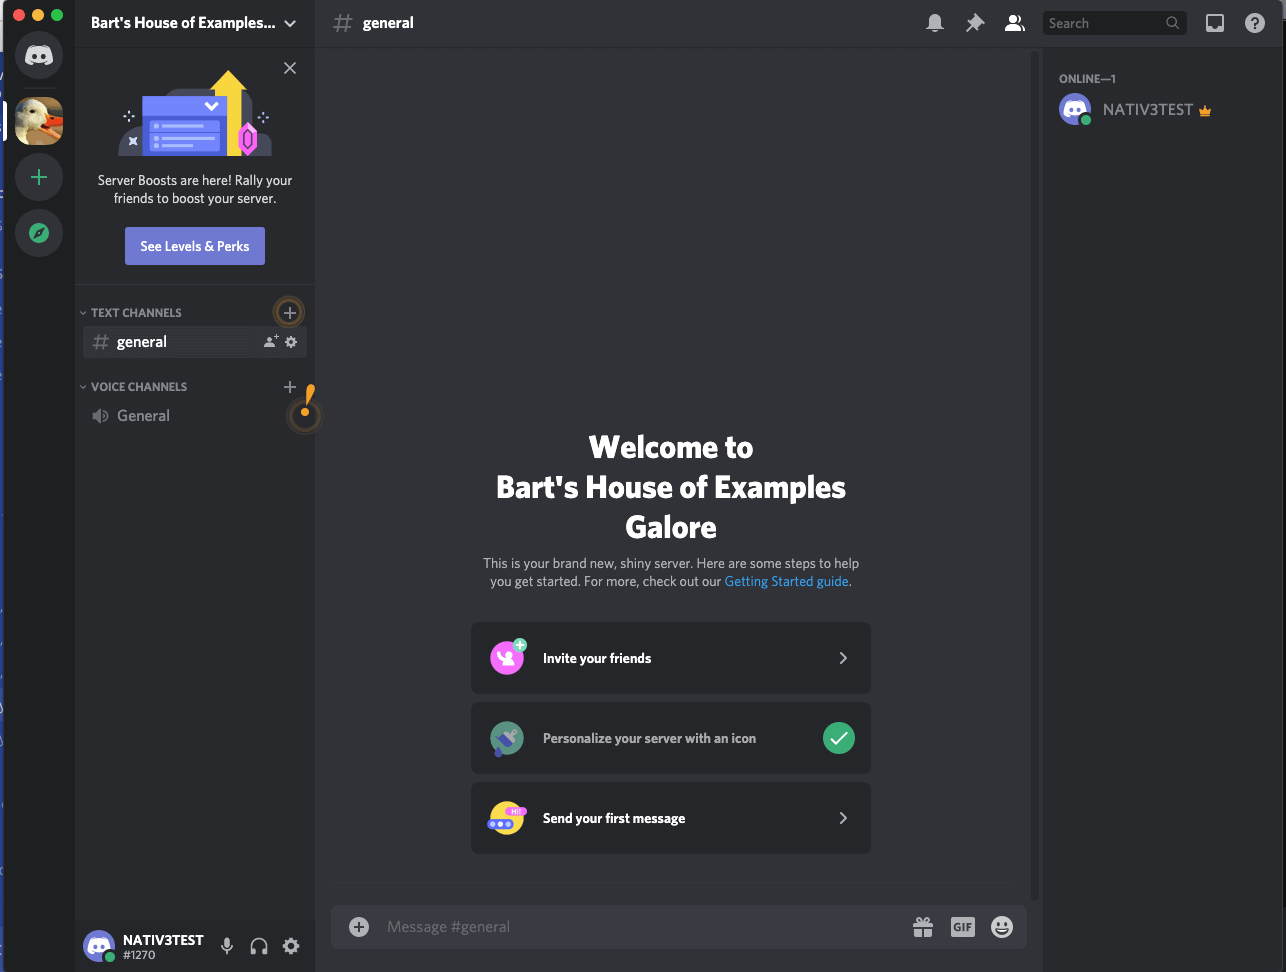
Adding Channels
If servers are like private chat rooms, the channels are the topics you can choose from. Discord makes it easy to create both private and public channels. A public channel will allow everyone to access it, while a private channel can have a set list of people that you want to allow in. This would come in handy if you have a Patreon with different reward tiers. Those who pay more per month might have access to exclusive channels that the general population wouldn’t.
We’ll go through creating both a public and a private channel, next:
1. Click the “+” button next to “Text Channels” or “Voice Channels,” depending on which you want to create.
2. Name your channel something that is pretty obvious to the topic. Let’s assume that you have a podcast with those Patreon leveled rewards. This might be your “Feedback,” “Future Topic Suggestions,” or “Memes About the Show” channel. This is completely based on what your business and your purpose in having the Discord is. Once you’ve named it, hit “Create Channel.”
3. At this point, the channel would be open to everyone. To make it a little more private, click your channel, prompting a small cog wheel to appear next to the name. These are your channel settings. Click there to access your channel options.
4. There are tons of options that you can play with, including preventing spam by limiting the number of messages or following online “channels” that will autopost into your Discord’s channel when there are announcements or updates. For now, let’s focus on “Permissions.”
5. Every option has an X or a Check next to it. If you want to completely limit the channel to everyone except a very specific list of people or roles, go down and hit the X next to everything under General Permissions:
6. From there, you can further customize what you’ll allow the members that can access that channel to do, like reading or sending messages. These options are up to you, but remember that these specific options apply to people who you WANT in the channel. Clicking the X next to “Read Messages” will prevent the specially selected group of members from seeing anything in the channel.
Got Your Server Ready? Time for the Fun Stuff
Next week, we’ll wrap up our Discord server with two of the more complicated processes: Creating roles and adding bots to make the experience more personalized. We’ll see you then!